
Why does my studio sound hollow, and what actually fixes it?
Rachel Whitcombe
6 min read
The question we hear most about studio audio: why a presenter sounds distant or boxy on air. Rachel explains how a room is assessed and what treatment and mic placement can realistically change.
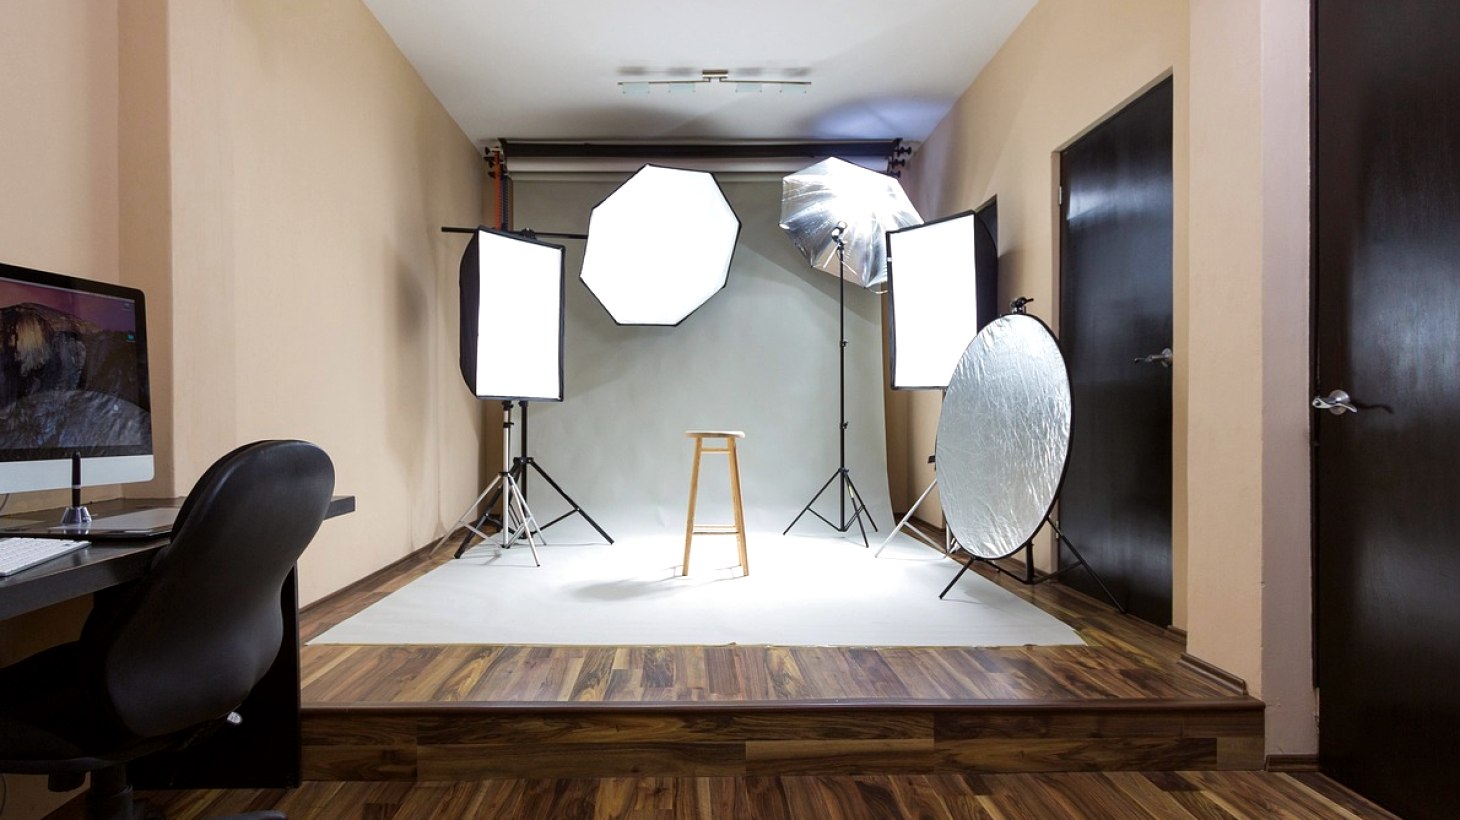
The question behind most calls about sound
More enquiries reach us about hollow, echoey or boxy audio than about almost anything else in the studio. The wording changes, but it usually comes down to this: the presenter looks fine on screen, yet the voice sounds as though it was recorded in a stairwell. Clients often assume the microphone is at fault, or that a more expensive one would solve it.
In my experience the microphone is rarely the first thing to blame. A microphone hears the room as much as the voice, and a bare room adds its own character to every word. Hard walls, a glass partition, a laminate floor and a low ceiling all return sound to the microphone a few milliseconds late, and the ear reads that as hollowness.
Autumn tends to bring this up. Studios that were half empty over summer fill again with presenters, guests and new sets, and the problems that went unnoticed come back into focus.
What a room assessment involves
When we visit, Tom Gregory begins by listening rather than measuring. He claps, speaks from the presenter position and walks the room, noting where the sound smears and where it dies. Only then does he take measurements, usually a simple decay test that shows how long a sound lingers at different pitches.
We also look at the room as a working space. Where do the cameras sit, and where do the guests face? Is there an air handling unit humming above the set, or a corridor door that opens mid broadcast? Noise from outside the room is a different problem from echo inside it, and it needs a different remedy.
The result is a short written note with what we heard, what we measured and what we would change first. It is deliberately plain, so that a station manager or venue owner can read it without a broadcast background and decide what to do next.
- Listening walk and speech test from the presenter position
- Decay measurement across the speech range
- Check for fan, lighting and corridor noise
- A written note ranking changes by effect
Panels, and where they go
Acoustic panels are the visible part of the answer, and they are often misplaced. Covering one wall in foam looks like treatment but tends to dull the high end while leaving the low and middle frequencies, where the voice lives, untouched. Thin foam mostly takes the sparkle out of the room.
Placement matters more than quantity. The first reflection points, the spots on the side walls and ceiling where sound bounces once on its way to the microphone, give the most benefit per panel. The wall behind the camera, which faces the presenter directly, usually needs attention as well.
Density matters too. Mineral wool or dense fibre panels absorb across a wider range than thin foam and last longer. We specify what the room needs and the budget allows, and we say so plainly when a cheaper product would do the job.
Microphone placement does a lot of the work
Even in a good room, distance from mouth to microphone decides how much room sound gets in. A lavalier clipped to a collar sits close and picks up little reflection. A boom held just out of frame can sound natural, but only if it stays near enough and is aimed at the mouth, not at the desk.
We see the same small errors repeatedly: a lavalier rubbing against a jacket lapel, a desk microphone placed beside a laptop fan, a boom pole held too high because the shot is wide. None needs new equipment. Each needs a few minutes of attention before the programme starts.
For interviews we suggest a short check with the guest speaking at their normal volume, listening through headphones, not through the gallery speakers. Headphones reveal the clothing noise and the room tone that loudspeakers politely hide.
- Keep the capsule roughly a hand span from the mouth
- Aim at the mouth, not at the table or floor
- Keep microphones away from fans and laptops
- Check every guest on headphones before going live
What treatment cannot do
Treatment improves a room; it does not turn a noisy building into a silent one. If traffic, plant machinery or a neighbouring tenant is audible in the studio, panels on the walls will not stop it. That calls for sealing doors, dealing with the source or choosing different hours, and we will tell you if that is the real cause.
Nor can we promise a particular figure or a studio that sounds like a purpose built recording suite. Many rooms we work in are converted offices, church halls and venue back rooms. The aim is clean, intelligible speech that the audience hears without effort, not perfection.
A sensible expectation is a clear step forward after the first round of changes, with a short list of further improvements if the budget allows. Some clients stop there and are content, which is a perfectly good outcome.
A sensible order for the work
If the sound is poor and you are unsure where to begin, we suggest this order: first remove avoidable noise, then fix microphone placement, then add treatment where the assessment points, and only then consider changing equipment. Each step is cheaper than the next and often removes the need for it.
Keep a short log while you work. Note the date, the room, what was changed and how it sounded afterwards. It sounds dull, but it stops a team repeating experiments and gives anyone asking us for advice something concrete to share.
If you would like us to come and listen, the contact page is the place to start. Tell us about the room, the type of programme and what troubles you most, and we will reply in writing with what a visit would involve.
A hollow sound is almost always a room problem before it is an equipment problem. Listen first, deal with noise and microphone distance, then treat the reflections that matter most. Done in that order, the changes are modest in cost and clearly audible on air. If you are unsure where your own studio stands, a short assessment will tell you what is worth doing and what can safely be left alone.